Connect to Digital Ocean one click openvpn server using GUI from Ubuntu
Introduction
A few days ago I wanted to create an OpenVPN server on Digital Ocean and use it to secure access to the internet from my laptop, I checked the DO marketplace and found one click installer for OpenVPN Access Server I logged in to my DO account and created a new droplet from the Marketplace OpenVPN Access Server image, after the droplet has booted I logged in to it using SSH and started the configuration step for OpenVPN Access Server, you can choose most of the default except when asked to route client traffic and DNS queries through the VPN choose yes, the default answer here is no, after the deployment is done add a password to the openvpn user using this command
sudo passwd openvpn
Remember this password as it will be used in next step.
Server Setup from web UI
We will assume that 156.34.21.60 is the IP address of the server, use your favorite web browser and open
this URL https://156.34.21.60:943/admin you will see a warning about the certificate, you can bypass it
safely, after that you will see the login screen as shown bellow
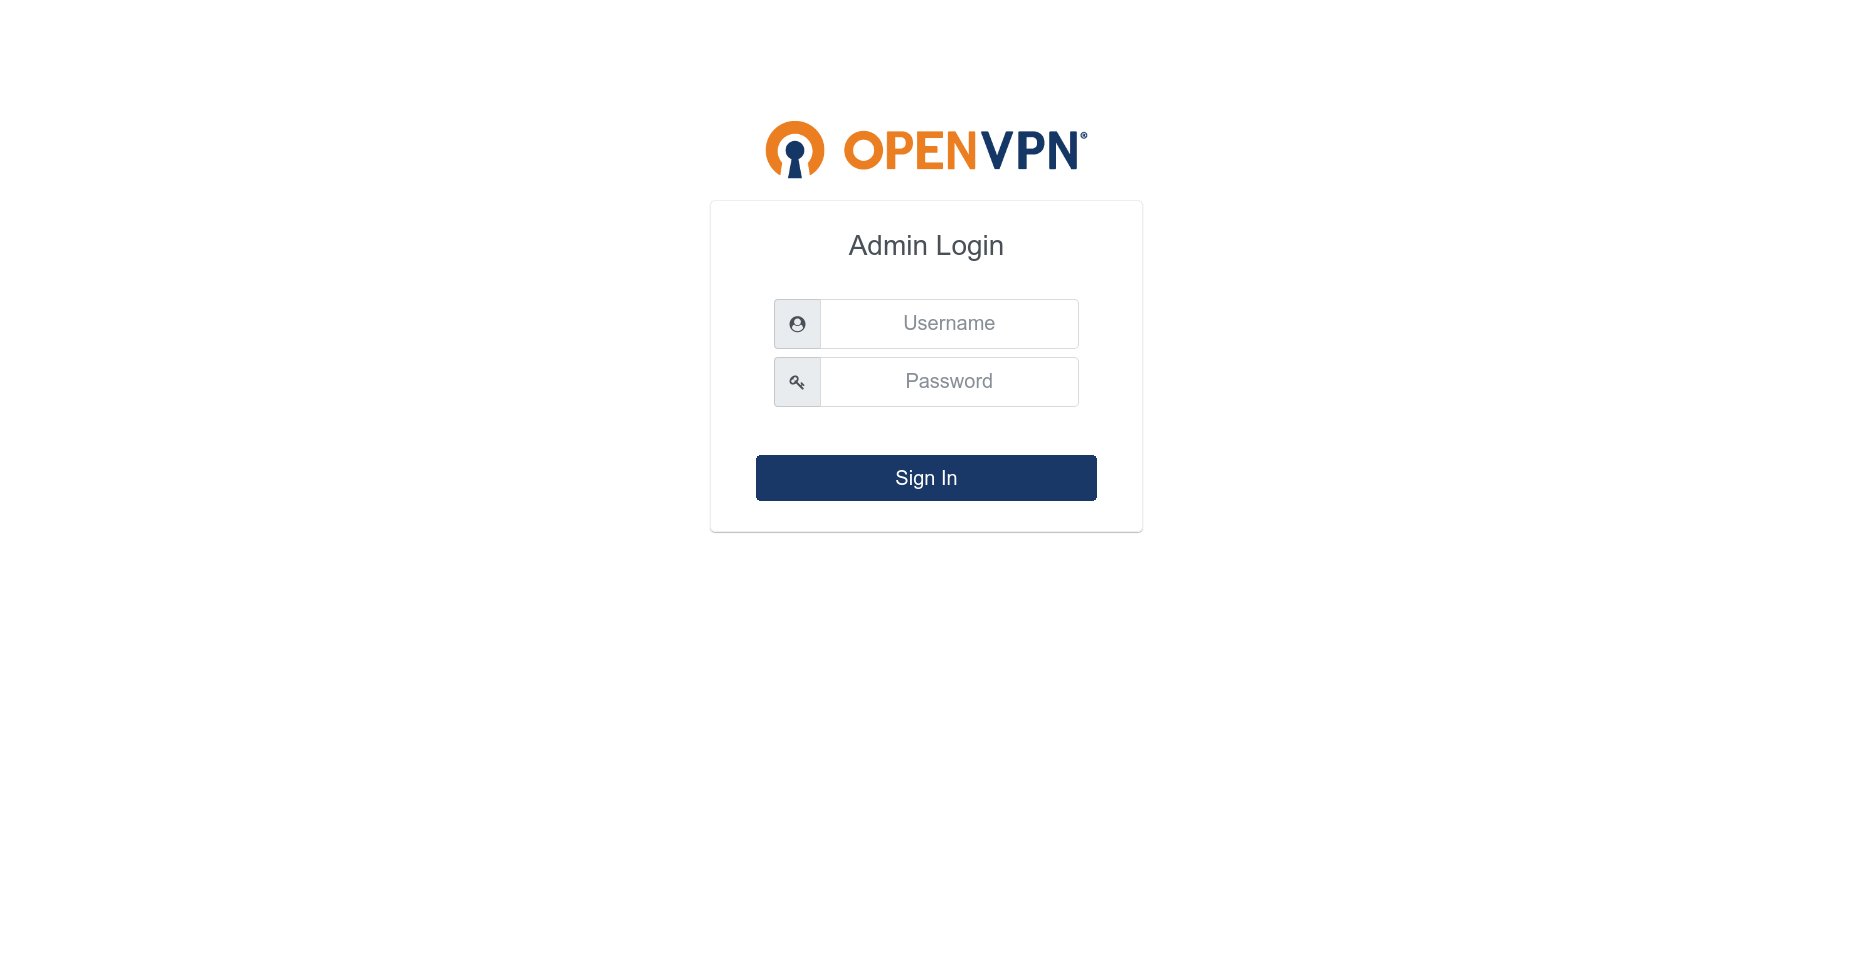
Input openvpn as username and use the password you setup in previous step.
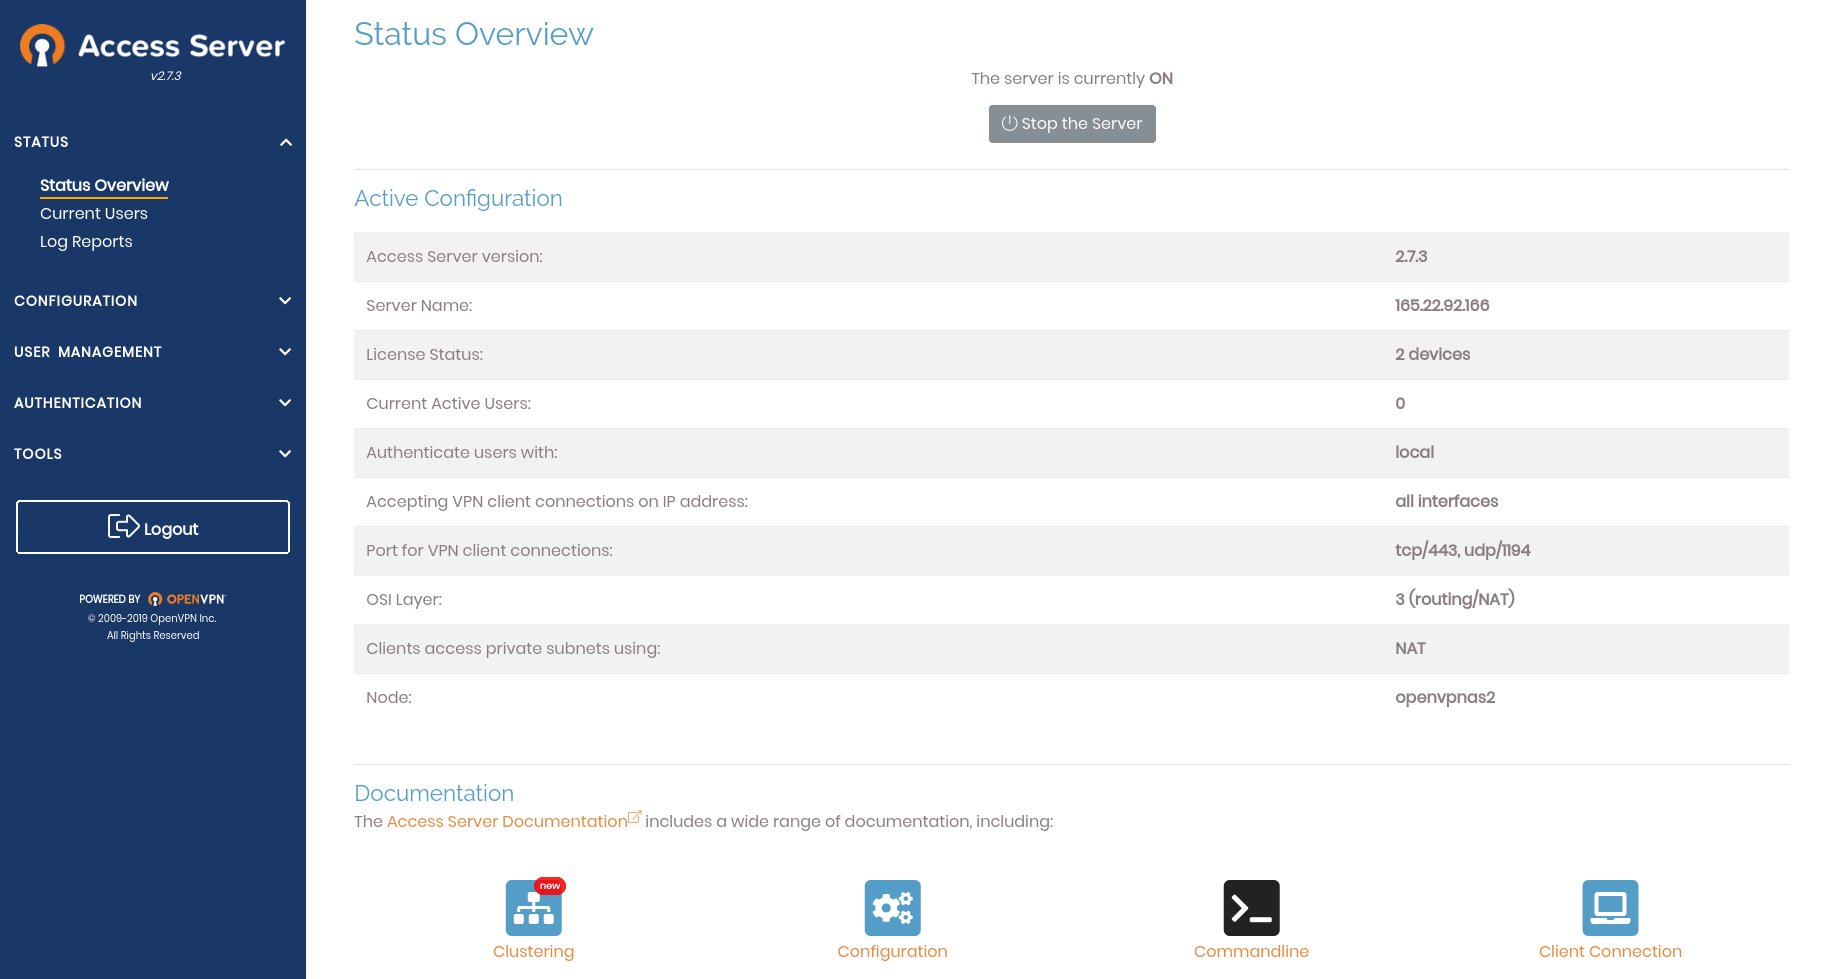
You will see the main page
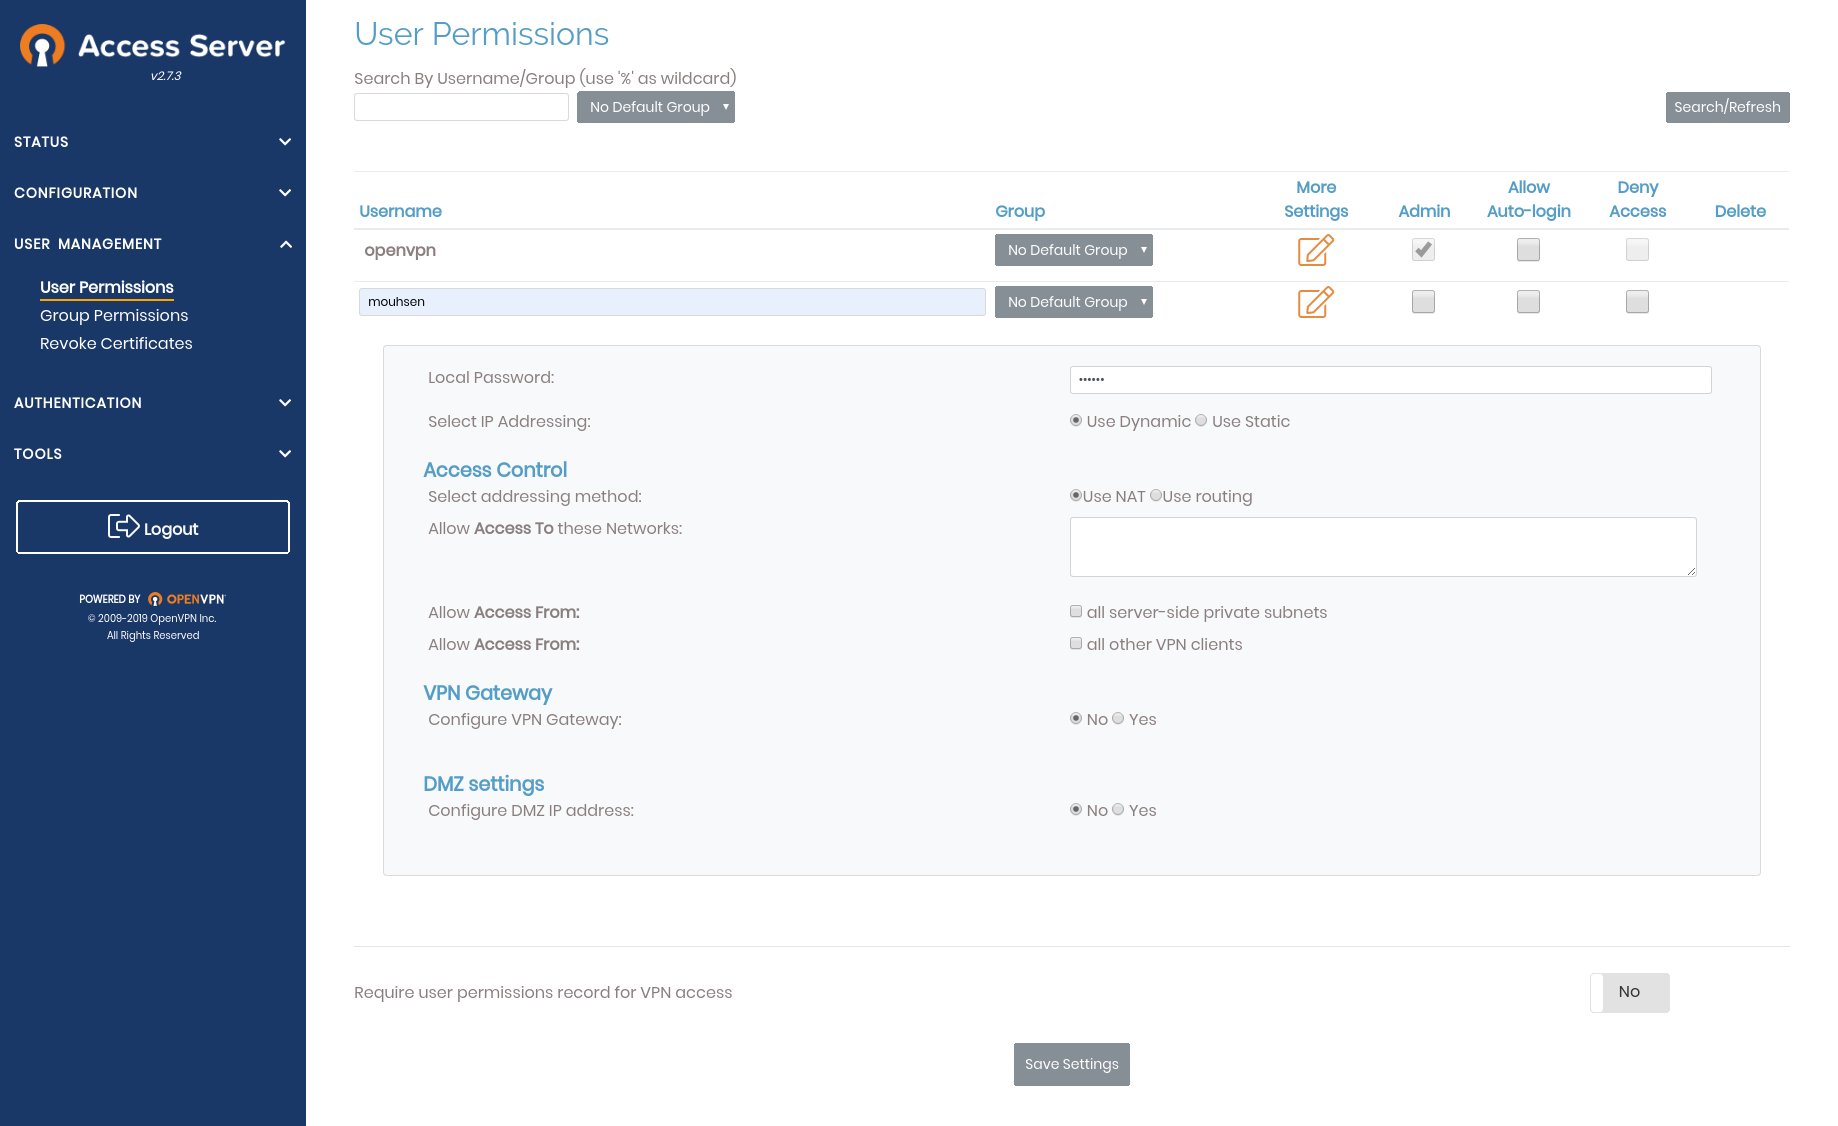
From the menu on the left choose User Management –> User Permissions, then input a name for a new user
and click more settings in the row for the new user, choose a password and click Save Settings at the bottom
of the page.
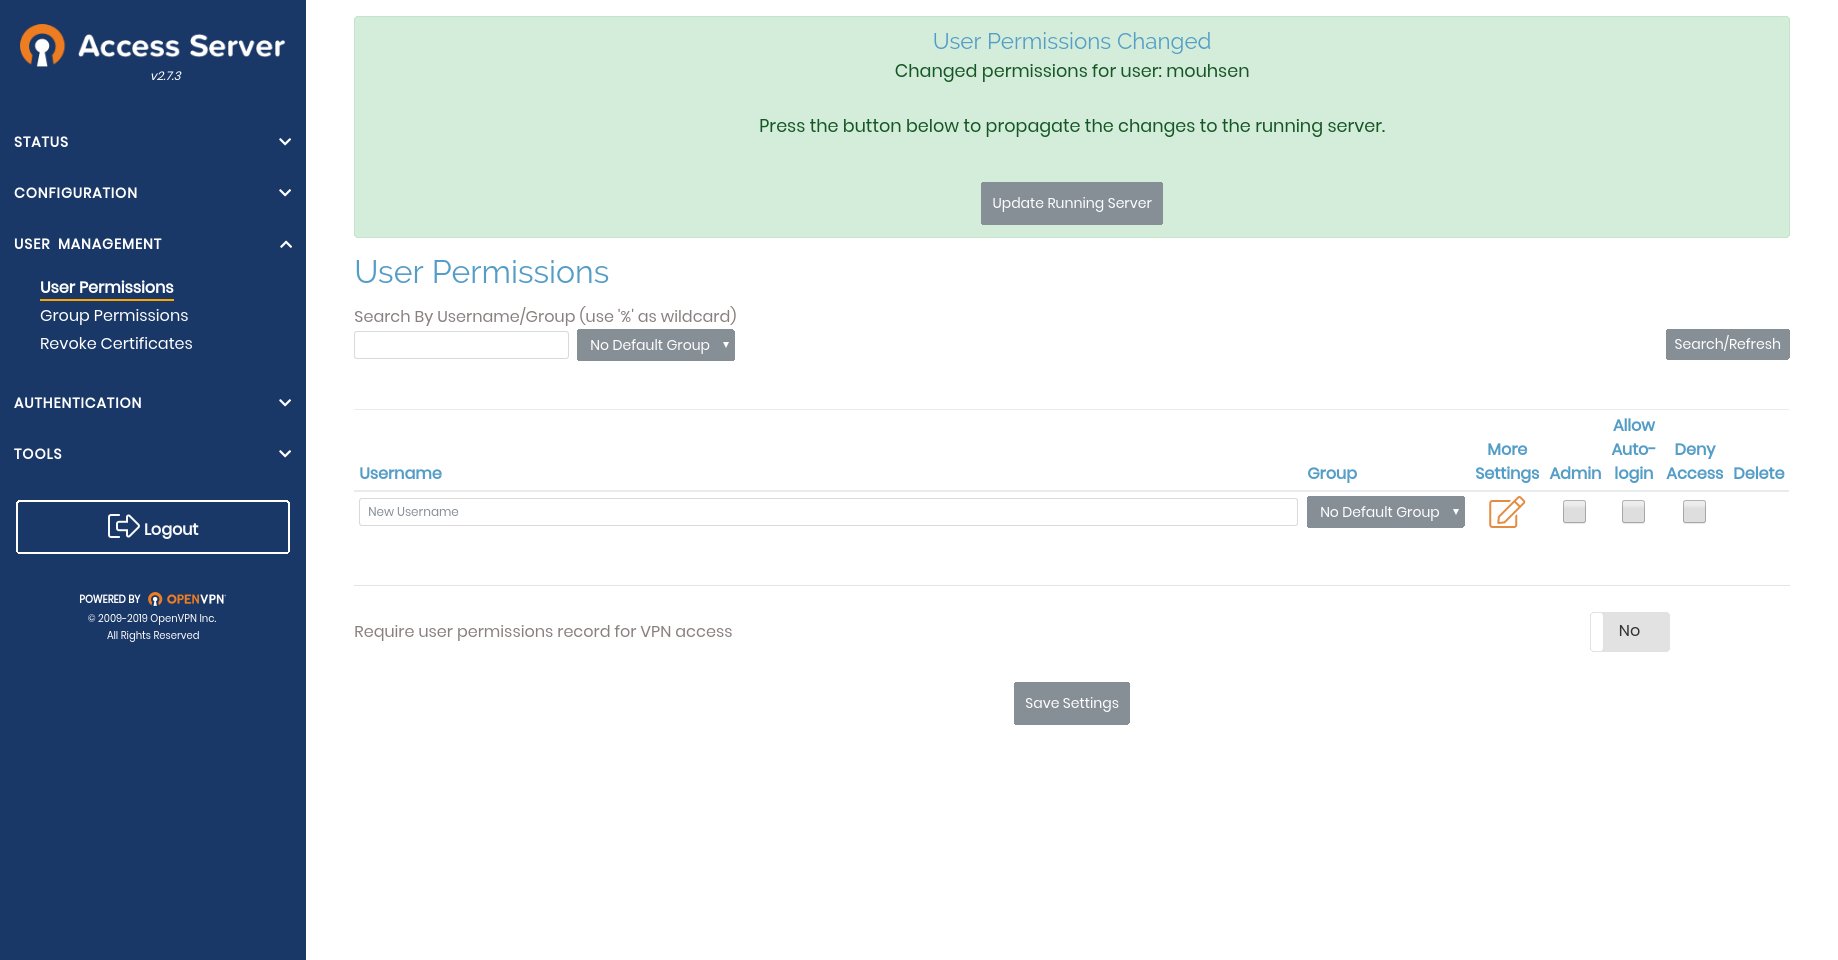
Now click on Update Running Server to apply new changes to the active profile.
Connect to VPN using GUI
To connect to OpenVPN you need to download the client configuration file from this URL
https://156.34.21.60:943 here you will see a login form, use the username and password
for the new user you created previously and download the configuration file using the link
you see in the page after successful login.
Now you need to install three packages on your laptop to be able to use the configuration file you downloaded from Ubuntu GUI and connect to the OpenVPN Server.
Use this command to install them
sudo apt install network-manager-openvpn network-manager-openvpn-gnome openvpn
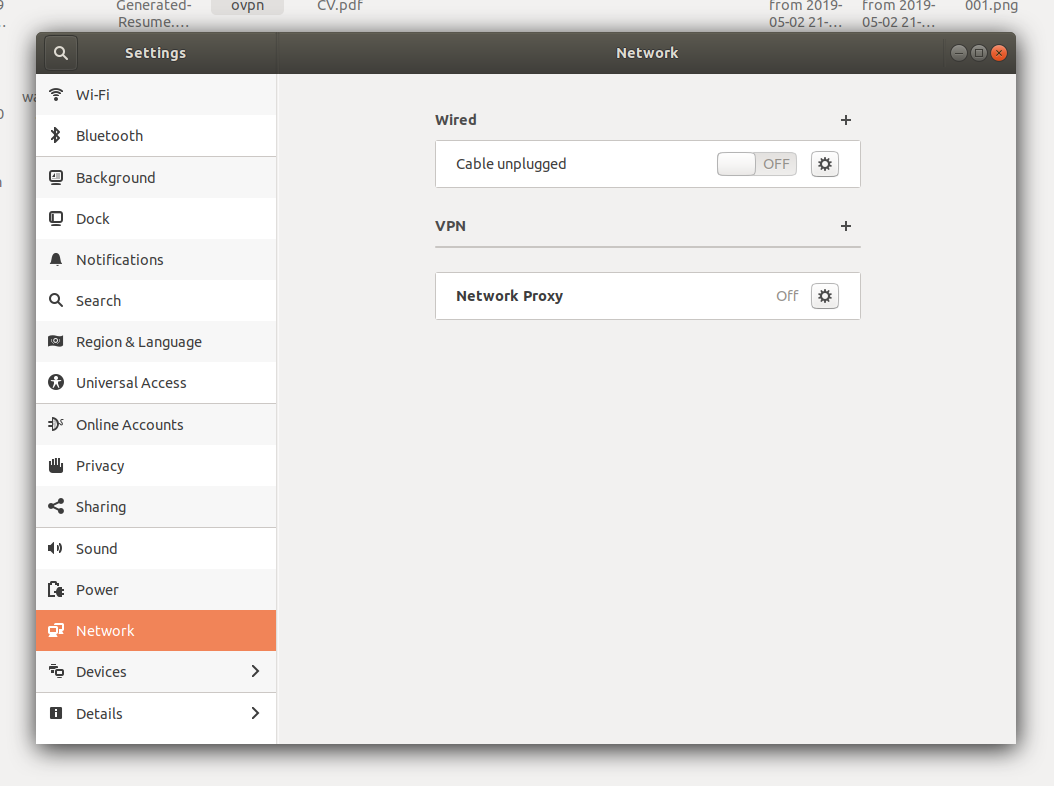
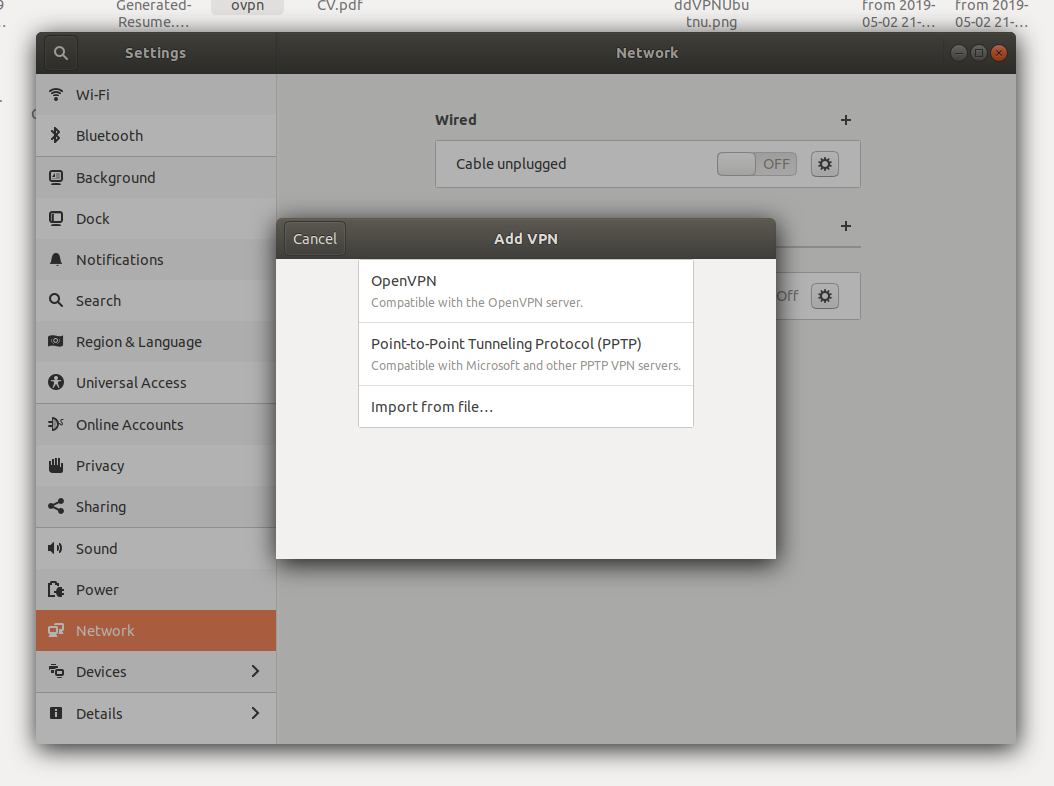
After the install is done open your system settings and choose network, then add a new VPN as shown bellow
Choose import from file
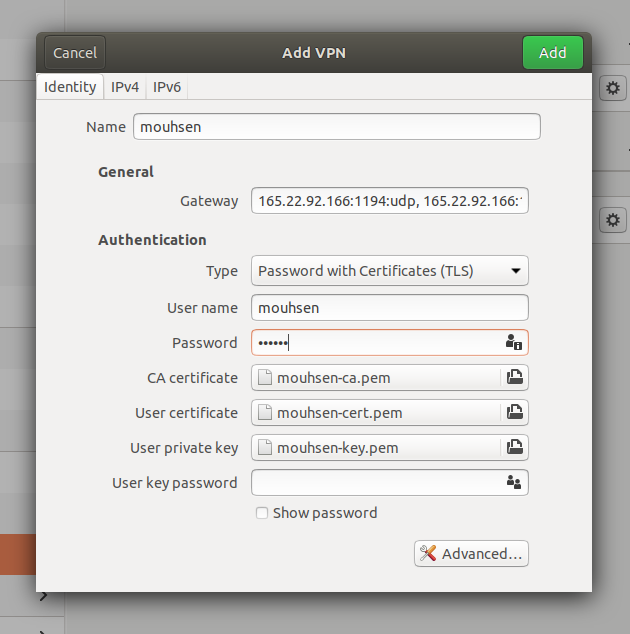
Browse and select the file you downloaded then you need to specify the username and password used to connect to the OpenVPN Access Server as shown in this image.
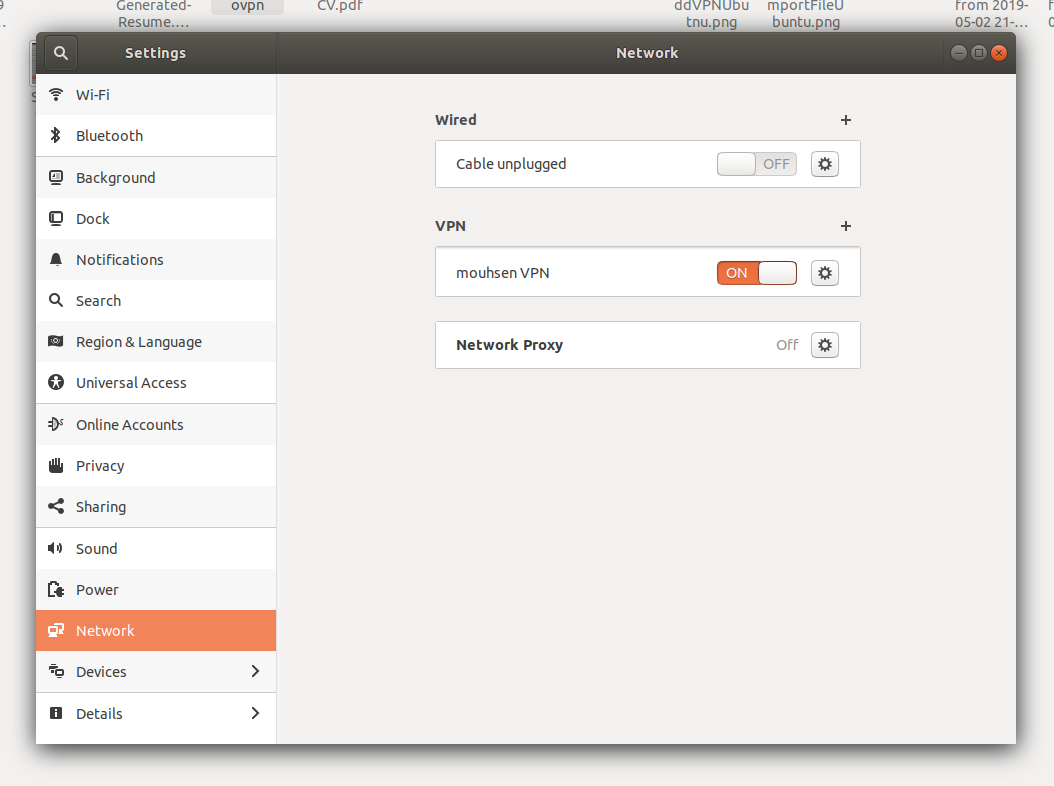
Click Add and connect to the VPN using the On/Off switch next to the name you chose for the
new VPN
To make sure you are connected and you have a new IP choose google and search for myipaddress you will
see the IP address of your server listed, also you can check the kernel routing table using this command
ip route you will see this route at the start of the table
default via 172.27.232.1 dev tun1 proto static metric 50
This will route all of your traffic through the VPN connection, 172.27.232.1 is the VPN IP address
on your server, on your Linux machine you will see a new network interface called tun1 which has
an IP address of the same network.
Conclusion
Here we learned how we can create an OpenVPN Access Server on Digital Ocean and connect to it from Ubuntu Desktop using the GUI, I wanted to write this tutorial because I had trouble to connect to the VPN from the GUI as we need to specify the username after the configuration file is imported while on windows for example the name is taken from the file without having to manually supply it, I hope you enjoyed it.
I will write more tutorials about OpenVPN on Digital Ocean, for example how we can create a cluster of servers or access Digital Ocean private network using VPN.
I hope you find the content useful for any comments or questions you can contact me on my email address mohsen47@hotmail.co.uk
Stay tuned for more tutorials. :) :)