Migrate gitlab to use DO Managed Database Cluster
Gitlab is definitely the best git server out there, it gathers the whole DevOps cycle in a single web interface, it includes CI service, todo lists to help you organize your tasks, milestones to plan releases and long running tasks, it integrates easily with kubernetes cluster to deploy your software, it includes a web IDE with many many more features, sometimes I fell that one day gitlab will start coding for you :) who knows…
Many of us use gitlab instance as it was installed using your distribution’s package manager
every thing is stored locally under /var/opt/gitlab directory, so if we lose this directory
or we move to another server we have to move this directory with us or create a full backup
and full restore on the other server.
There is a better solution for us why don’t we use DO managed database service for the postgresql data instead of locally installed server, of course there are other data in the directory but we will leave that for now, a future articles will mention how we can scale the data storage for gitlab.
Here we assume you already have gitlab instance and use it as your own git server.
Snapshot your droplet
You can take a droplet snapshot before starting this process so if anything goes wrong you can easily revert back, it is prefered to power down a droplet before taking a snapshot to ensure data consistency.
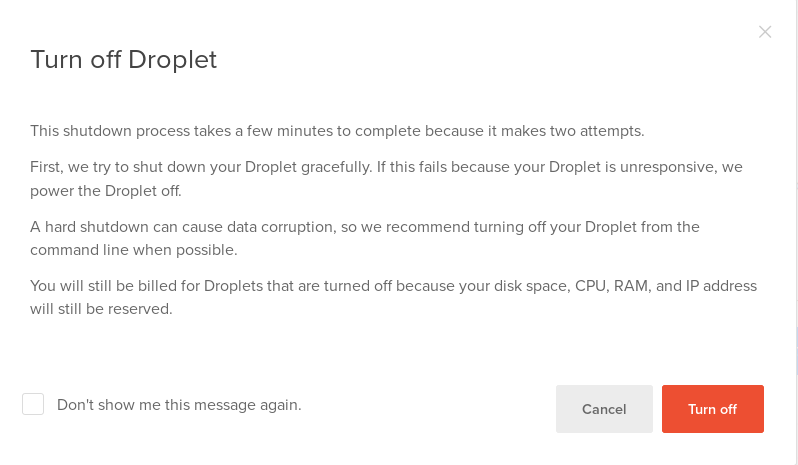
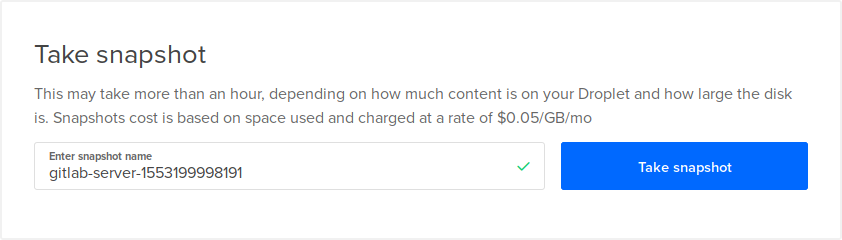
Now after the snapshot finishes power on the droplet again.
Backup gitlab database
Take backup of gitlab database only using this command
sudo SKIP=uploads,repositories,builds,artifacts,lfs,registry,pages gitlab-rake gitlab:backup:create
After we take backup it is recommended to stop gitlab so no new data will added to it, you can stop with this command
sudo gitlab-ctl stop
According to default configuration the backup file will be created in /var/opt/gitlab/backups
it will have a name that is a timestamp of the time the backup was taken. My backup file
had this name 1553200701_2019_03_21_11.8.0-ee_gitlab_backup.tar
Untar the file with this command
tar -xf 1553200701_2019_03_21_11.8.0-ee_gitlab_backup.tar
Enter the db directory cd db and uncompress the file inside it using
gunzip database.sql.gz
This creates a new file called database.sql in current directory, this file was created using pg_dump and it contains all of gitlab postgresql database, we will use it to fill the database created by Managed Database service.
Create a postgresql cluster using DO managed database service
I will not go into details here, the steps are already explained in my previous tutorial which can be found here
When creating a cluster choose postgresql version 10 and for size choose 2GB RAM and 1 vCPU so we can add standby nodes later if we want, also make sure to create the cluster in the same datacenter as where the gitlab droplet is running.
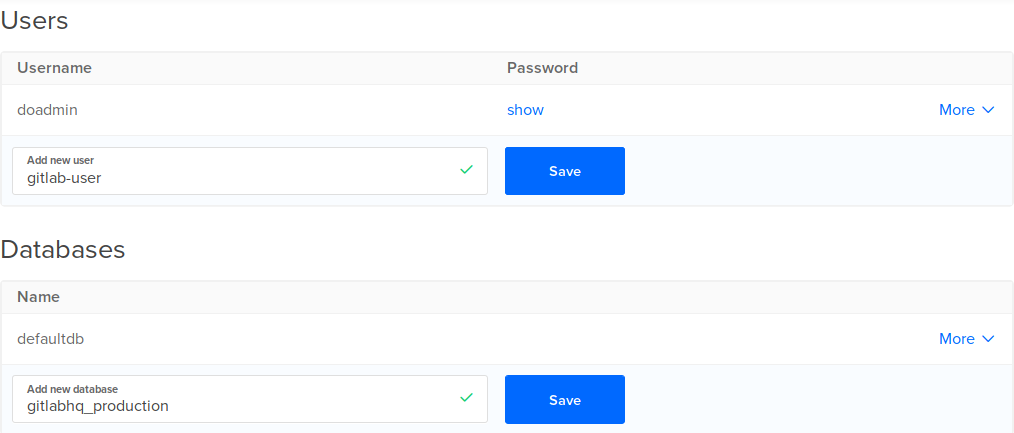
Once the cluster is up and running we need to create two things a database and a user for gitlab.
After both the database and user are created we need to fill the database with data from the dump file we just extracted but first we must install psql command line tool for postgresql version 10 with this command
sudo apt-get install postgresql-client-10
Now fill the database with this command
PGPASSWORD=<gitlab-user-password> psql -U gitlab-user -h <cluster-dns-name> -p 25060 -d gitlabhq_production --set=sslmode=require < database.sql
You might see some errors you can ignore them for now.
Configure gitlab to use the new database
Now after the database is full of data we must tell gitlab to stop using its own postgresql
server and start using the new cluster for its database, this can be done by adding the
following lines to /etc/gitlab/gitlab.rb
postgresql['enable'] = false
gitlab_rails['db_username'] = "gitlab-user"
gitlab_rails['db_password'] = "<gitlab-user-password>"
gitlab_rails['db_host'] = "<db-host>"
gitlab_rails['db_port'] = 25060
gitlab_rails['db_sslmode'] = "require"
Save and exit the file then run gitlab-ctl reconfigure for new changes to take effect.
Then start gitlab gitlab-ctl start, wait few minutes for gitlab to start and open
your gitlab web page and check if all of your data is already there.
If you run gitlab-ctl status you will notice that postgresql is not in the output
because now gitlab uses an external postgresql cluster not its own postgresql server.
Conclusion
In this tutorial we learned how to migrate an existing gitlab instance to use DO managed database service rather than its own local database server, there is more to be done here I noticed that gitlab ci maybe uses another database so maybe more work is needed to make sure that gitlab ci works I will check for this and write another tutorial if needed, also the git repositories are still stored on the local instance storage so I will write a tutorial to migrate this to another storage system maybe DO Spaces or a file cluster.
I hope you find the content useful for any comments or questions you can contact me on my email address mohsen47@hotmail.co.uk
Stay tuned for more tutorials. :) :)