Deploying Django using Digital Ocean App Platform
Introduction
App Platform is the newest Digital Ocean service, which enables developers to easily deploy their applications to Digital Ocean cloud without creating droplets to run the applications, it also enables monitoring of applications and their logs easily from a single interface.
The service will be improved to support managing many resources in the background without having the developers create and manage these resources by themselves.
What will we do?
In this tutorial we will:
- Get an introduction about app platform, its components and how it works.
- Create a Django application and deploy it to app platform.
- Create a postgresql component and make django use it.
- Create a static site component to serve Django’s static content.
App Platform
It is a Platform-as-a-Service (PaaS) offering from Digital Ocean that allows developers to publish their code directly to Digital Ocean without worrying at all about the infrastructure.
The code can be stored on Github repository and linked with App Platform to deploy the application to Digital Ocean each time a change is made on a specific branch.
Each app consists of many components, here are the kinds of components you can have in App Platform:
- Service: A service component is a part of your application that has a public IP address and can be accessed direcrly by end users, for example: a Django application, DO NOT create load balancers as services because this is already managed for you by App Platform.
- Worker: This component is an internal service which can only be used by other services in your app.
- Static Site: This helps to host static content for your apps, it offers a web server that serves your content to end users.
- Database: This component is used to store database for your app, it only supports postgresql for now, if you need mysql or redis then you can use Digital Ocean Managed database service.
To create a new app go to this link and
select Launch App as shown bellow

There are three steps to create the app, first select the source
You can use a pre-existing app or select a repository from Github, you
need to authorize Digital Ocean to use you github account first.
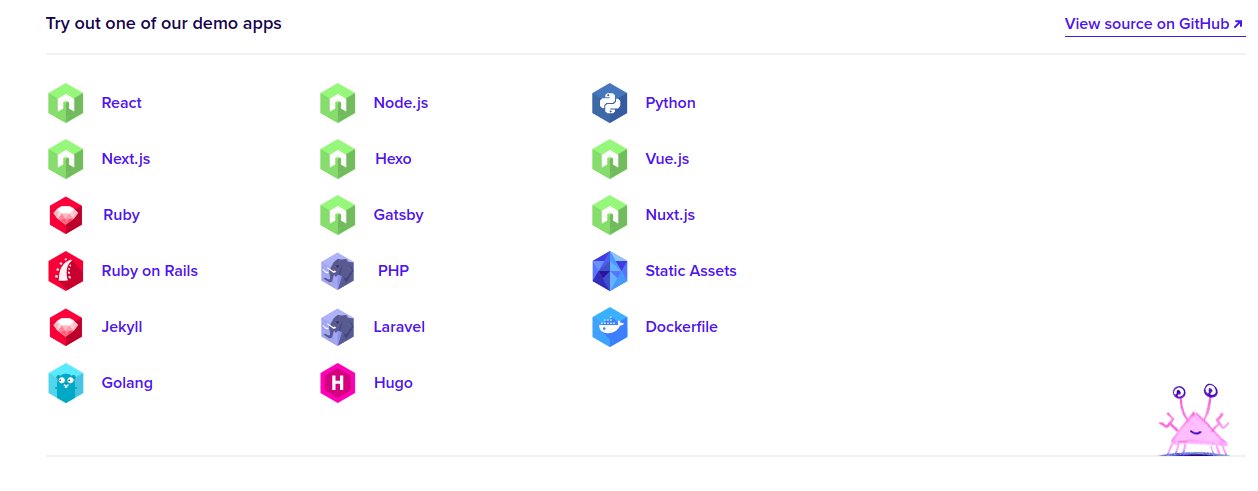
First we will create a simple python app using an existing template, click
on Launch Demo App and Select Python as shown bellow.
Now you must select a valid name for the app, and for the branch main
is already selected, you can choose a different branch later when selecting
one of your repositories.

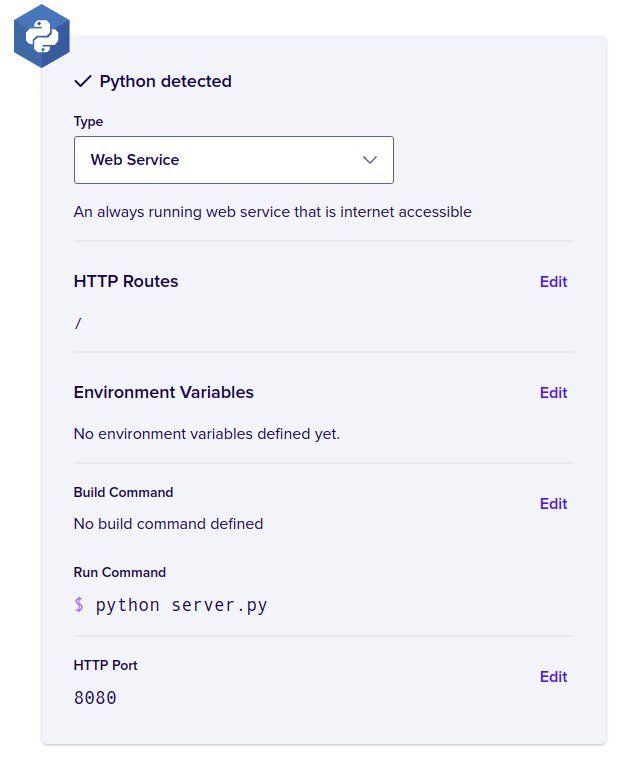
In the last step you can choose components to create, build and run commands
and the deployment plan, for now leave the defaults and Click Next.
In the last step you need to select the pricing plan, select Basic and
click Launch Basic App.
Now wait until the app is deployed, once done you can view the app using the provided link, It is just a simple python app which returns the link you requested in the response.
Django app
Now we need to create our own Django app, that will be deployed to Digital Ocean App Platform, start by installing Django on your workstation with this command
pip install Django
Now create a new Django app with this command
django-admin startproject django_app
Create a a file called Dockerfile in the root of the repository
with this content:
FROM python:3.8-slim
RUN mkdir -p /app
COPY . /app/
WORKDIR /app
RUN pip install -r requirements.txt
EXPOSE 3000
CMD ["python", "manage.py", "runserver", "0.0.0.0:3000"]
The first line selects the python:3.8-slim docker image, a light weight
python docker image suitable for production, the second one creates a new
directory called /app inside the image and the third copies all files and
directories to the /app/ directory.
Now after that we set /app/ to the working directory inside the docker
image and then we execute pip install -r requirements.txt to install
Django inside the image, after that we expose the port 3000 and set the
command line for the image to be python manage.py runserver 0.0.0.0:3000.
We also need to create the requirements.txt file with this one line
Django==3.0.6
Also create a .gitignore file with these 3 lines.
*.sqlite3
*.pyc
__pycache__
Used to ignore sqlite database file and python compiled cache files.
Now create a new repository on github and push your code to it, to do so follow these steps
- Create a new repository from this page
https://github.com/new - After it is created pick up its SSH url as shown here

- Now create a new repository on your workstation and add your github repository as remote, use these comamnds:
git init
git remote add origin git@github.com:mohsenSy/django_app.git
- Push the code to github
git add .
git commit -a -m "Initial commit"
git push origin -u master
Now after the code is on github you can create a new app using this repository.
Create a new app for Django
Now we will create a new app for the new repository, we will follow
a similar procedure as before, but we need to select the new repository
from github and also change some settings for the component, the following
picture shows the new changes for the component.
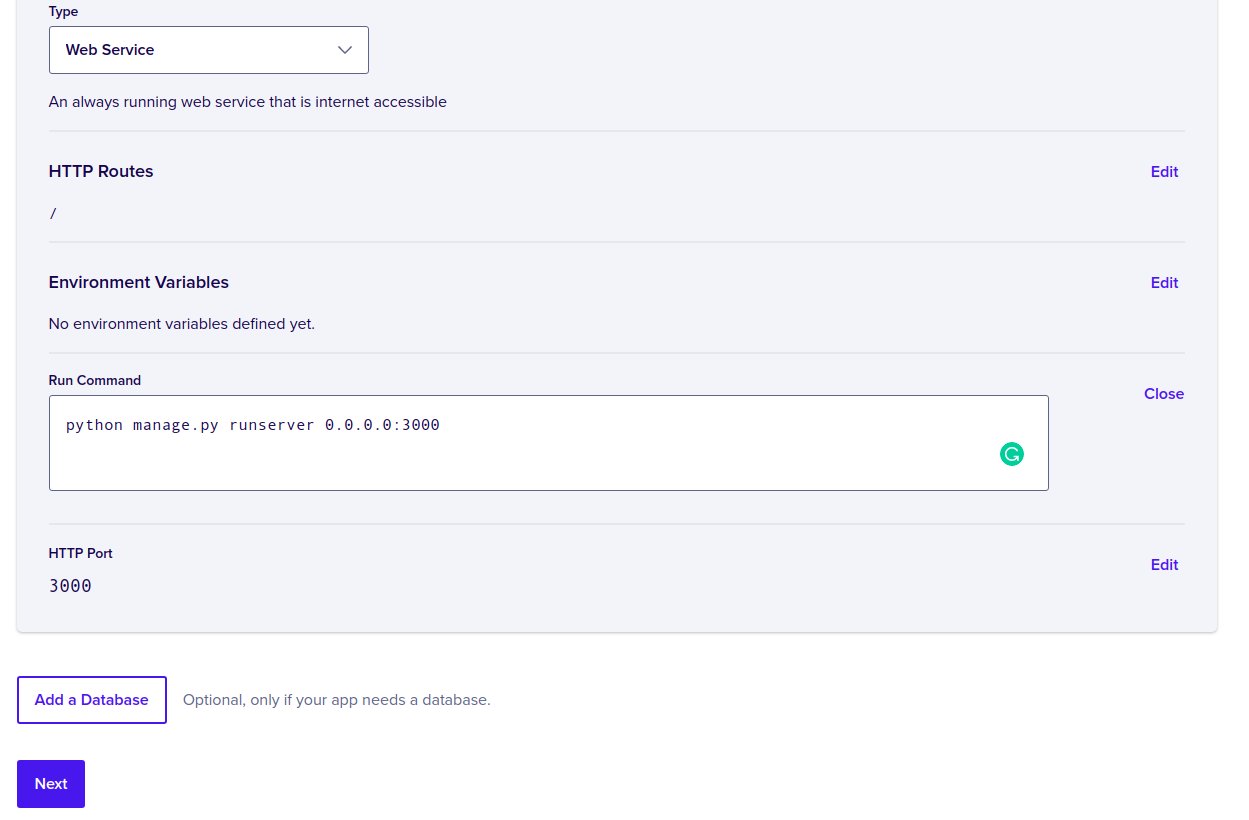
From the picture we can see a new run command which is
python manage.py runserver 0.0.0.0:3000
Click Next select Basic Plan and then click Launch Basic App,
After the app is built and deployed you can visit its URL as shown here
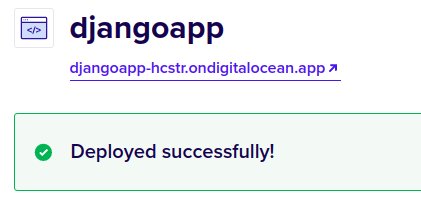
You should have a different URL, if you click this url you will get
this page

To fix this you need to add your app’s host in the URL to ALLOWED_HOSTS
in Django settings, add the host and push to your master branch.
ALLOWED_HOSTS = ["djangoapp-hcstr.ondigitalocean.app"]
This should trigger a new build in Digital Ocean, wait for it to finish and visit the URL again, you should now see Django’s main page.
Now the Django application is up and running but with the sqlite3 database which is not suitable for our case at all, because it relies on a local file stored on hard disk and in our case the container which runs the app could run on any node or maybe use different disks which means we cannot rely on ephemeral disk storage for it.
To solve this we need a database, we will use the database component in app platform, it helps us to create a postgresql database.
Create postgresql database for Django
App Platform gives you the ability to create various kinds of components
for your apps, one of these is the managed postgresql database component,
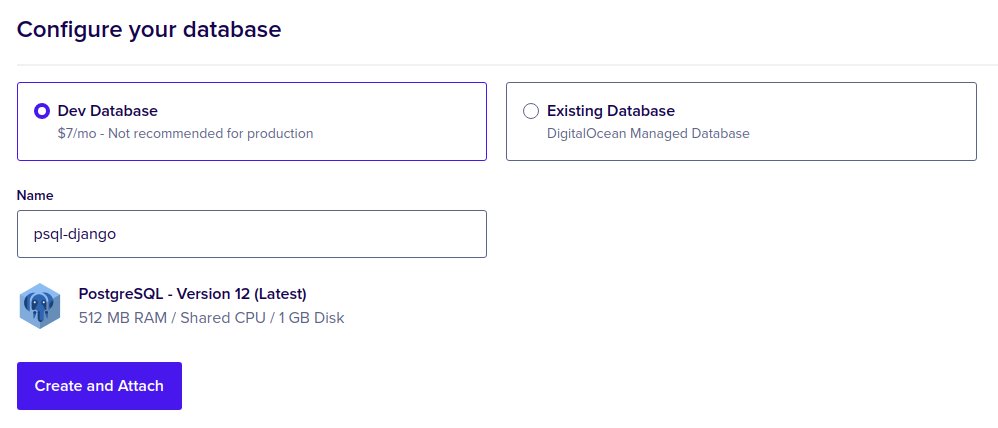
which we will create now, Go to components tab, Create Component
and select Database as shown bellow.

Choose a name for the database and click Create and Attach, as shown bellow.
Now you can see the component in the components’ Tab with all the connection details, also if you check the environment variables for your django service, you can see a new variable called DATABASE_URL, which takes the value of your database’s connection string ready to be used in your apps.
Now we need to use this connection string with Django application, by
default you cannot use connection strings with Django apps, you need to
specify individual connection parameters such as host, port, username,
password and database name, but this information is not available easily
here in App Platform, that is why we will use a third party library called
dj_database_url which has the parse function that takes a connection
string as a parameter and returns individual components as python
dictionary which is exactly the format expected by Django.
Add the new library to requirements.txt as follows
Django==3.0.6
psycopg2==2.8.6
dj-database-url==0.5.0
We also added psycopg2 which is required for python to connect to postgresql
database, we must also add a new line to Dockerfile to install few
system libraries required for psycopg2 to work.
RUN apt-get update && apt-get install libpq-dev build-essential -y --no-install-recommends && rm -rf /var/cache/apt/archives/*
Now we must create a new file called run_app, this file will apply
all migrations before running the app.
#!/bin/bash
python manage.py migrate && python manage.py runserver 0.0.0.0:3000
Make the file executable with this command
chmod +x run_app
Lastly change the CMD line to run the previous file
CMD ["./run_app"]
Add this line
import dj_database_url
to settings.py and change the default database to this
DATABASES = {
    'default': dj_database_url.parse(os.environ["DATABASE_URL"])
}
Here we used the DATABASE_URL environment variable to setup the database
connection.
Now commit and push your changes to github, which will trigger a new build on App Platform.
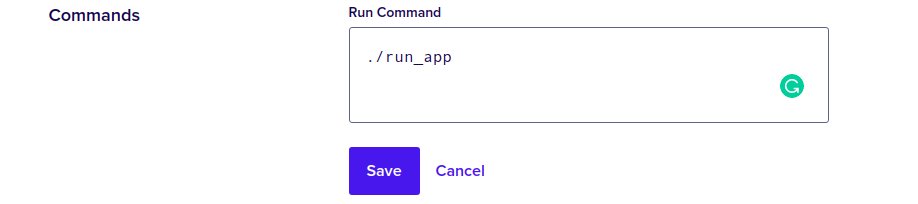
You must also update the run command for the django component, as shown here
Now browse to the admin page using this url /admin, you will see a login
form with Username and Password, you did not create any users yet
so we need to use some commands to create users, App Platform privides
access to the deployed app using the console Tab, execute this command
in the web app
python manage.py createsuperuser --username admin --email admin@test.com
The following image shows how to access console and execute commands
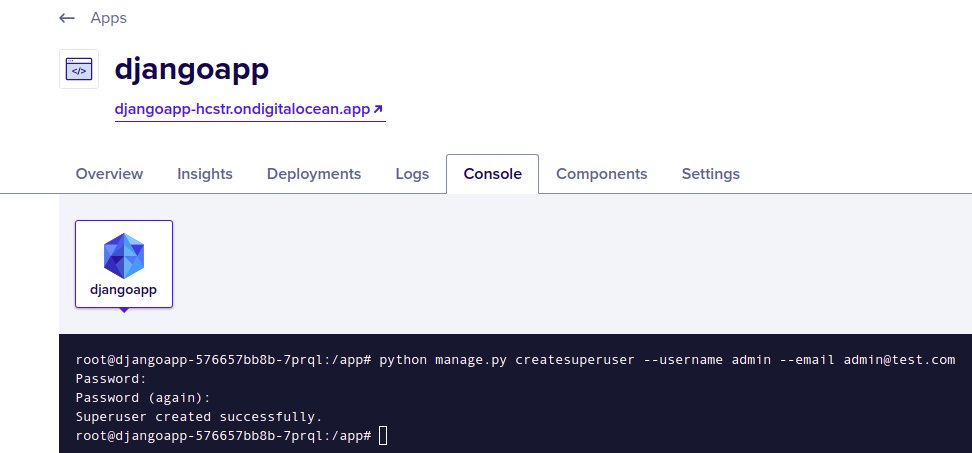
You can now login with the username and password, you just created.
Create a component for static content
In Django you can put all of your project’s static content in a single directory and point your web server to serve static content from this directory, in App Platform there is a static web site component which can be used in this case, we will use it now to serve our static content.
Before serving static content you need to add this variable to settings.py
file for your django project.
STATIC_ROOT = os.path.join(BASE_DIR, "_static")
Also you need to handle the erro when no DATABASE_URL is used, when
generating static site content we do not need any database connection,
so we will not define a value for DATABASE_URL variable and must
handle the error when this variable is not defined, change the Databases
variable to something like this.
db_url = os.environ.get("DATABASE_URL", None)
if db_url:
    DATABASES = {
        'default': dj_database_url.parse(os.environ["DATABASE_URL"])
    }
Now when no variable is defined it will not throw an error.
This means we want to put all of our static content in a folder called
_static in the base directory for the project, commit and push your code.
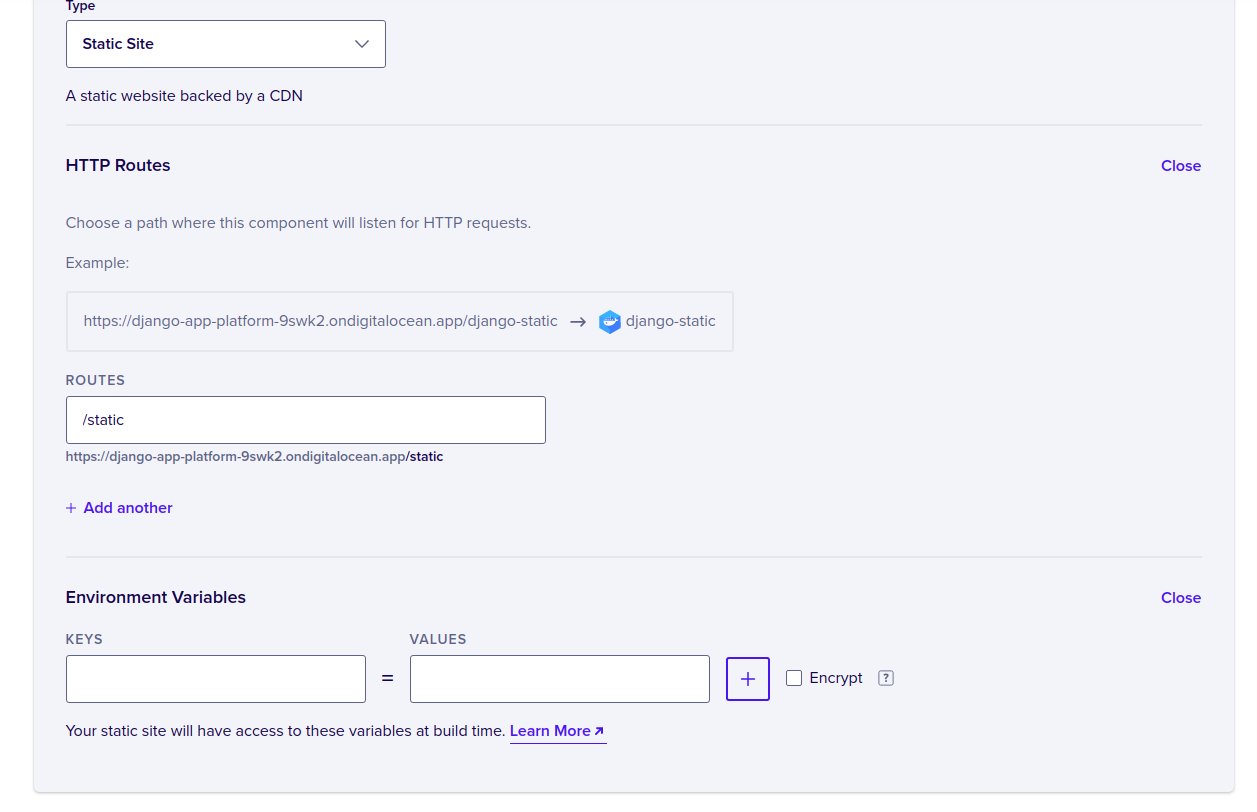
To create the new Component, go to Components Tab, click on Create component
and select Static Site, select your github repository as source, select
a name for the component, remove the environment variable definition, you
do not need the database connection when generating static site content.
For routes enter static, this should be the same value as STATIC_URL
in settings.py file, finally click Next then Launch Static Site.
HINT: Make sure to delete the environment variable definition or you will get build errors.
Now your django app is ready, the application’s code is served using django component, a component is created for the database and also another one for the static content.
Conclusion
In this tutorial we learned about the newest Digital Ocean service called
App Platform and
deployed a basic Django App using three kinds of components, service,
database and static site, later we will learn advanced usage
of components, how to deploy other applications using different
frameworks and also do some performance testing for the new service.
I hope you find the content useful for any comments or questions you can contact me on my email address mohsen47@hotmail.co.uk
Stay tuned for more articles. :) :)