My thoughts about Digital Ocean managed database
On 14 February 2019, Digital Ocean released a new service called managed database cluster, this new service helps developers get database clusters up and running easily, quickly and without the burden of managing their own database cluster or worrying about availability and scale. At first only postgresql database is available with mysql and redis planned for a future release.
In this article I will share my thoughts about the new service and what it needs to become a better one, also I will describe how to use pgAdmin using docker to connect to the database cluster.
Managed database pricing and node types
The price of your database cluster depends on the type and number of nodes you choose, it starts at 15$ per month for a single master node without any standby nodes and can go up to 960$ per month with up to two standby nodes that cost 1280$ per month, below is a description of node types:
- Master nodes These nodes are the primary ones in the database, they can process all kinds of queries including read and write queries.
- Standby nodes These act as replicas to master nodes, as long as the master node is running correctly these nodes only maintain a replica of the database, if any master node fails a standby node takes its place immediately while a new master nodes is being provisioned in the background to achieve high availability of the database cluster.
- Read-only nodes These nodes act as replicas to master nodes, they can process only read queries and can be placed in different regions, these nodes are ideal for scaling of read workload to multiple regions world wide.
According to these node types, we can get high availability clusters only when we use at least one standby node because it can immediately take the place of a failed master node however if we only have one master node we still get automatic recovery but during recovery process the cluster will be unavailable until the node is recovered, the time the node takes to recover depends on the database size.
Create a new database cluster
Now after we got to know the pricing and node types of database cluster it is time to start creating one and test it, follow these steps to create a single node database cluster.
Hint: DO pricing is based on hours of usage, the cluster that your are going to create will cost 0.022$ per hour so make sure to destroy it once done if you are on limited budget.
1- Open your account and navigate to projects page.
2- from the left panel Choose MANAGE –> Databases and select enable limited availability
if you did not enable it before, now you can use the Create Database cluster button or
choose Create –> Databases from the upper bar.
3- Choose postgresql version 10 or 11.
4- Select 15$ per month as node size without any standby nodes (Actually you cannot choose a standby node for this node size).
5- Choose datacenter where you want deploy the cluster.
6- Select a cluster name that you want.
7- Click the green long Create a Database Cluster button to start provisioning the only one master node you chose earlier, this can take some time.
Meanwhile the cluster is provisioning you can check the getting started guide, click
on Get started, the first thing you will configure here is the inbound sources allowed
to access the database, for now we will leave it empty HOWEVER this is strongly unrecommeneded
for a real production server. If you enable private networking for the cluster you can
use private IP addresses of the droplets if they are in the same data center.
Click on Continue, I'll do this later, now is the time to copy your database access
credentials which include username, password, host, port and database.
We will stop here for now and move to installing pgAdmin on your local workstation using docker and use it to access the database cluster you just created.
Start pgAdmin using docker
pgAdmin is a free software which gives you a user interface that can be used to connect to a postgresql database server and execute queries on it, it can be seen as phpmyadmin but for postgresql not mysql.
The following page shows many download options for pgAdmin, here we will use the docker way of installing pgAdmin.
Make sure you have docker installed on your machine then execute the following command to start a docker container running pgAdmin 4.
docker run --name pgadmin --rm -p 8080:80 -e PGADMIN_DEFAULT_EMAIL=mohsen47@hotmail.co.uk -e PGADMIN_DEFAULT_PASSWORD=asdfgh dpage/pgadmin4
The previous command creates a docker container named pgadmin with port 8080 on host forwarded to port 80 in the container and it has a default email and password, you can use your own email and password, these are used to access pgadmin web interface.
I prefer to save an alias for this long docker command, put your aliases here ~/.bash_aliases.
alias pgadmin='docker run --name pgadmin --rm -p 8080:80 -e PGADMIN_DEFAULT_EMAIL=mohsen47@hotmail.co.uk -e PGADMIN_DEFAULT_PASSWORD=asdfgh dpage/pgadmin4'
Make sure this file is sourced by ~/.bashrc if it exists using this code:
if [ -f ~/.bash_aliases ]; then
    . ~/.bash_aliases
fi
When the docker container is up and running use your browser to navigate to localhost, you should see something like this
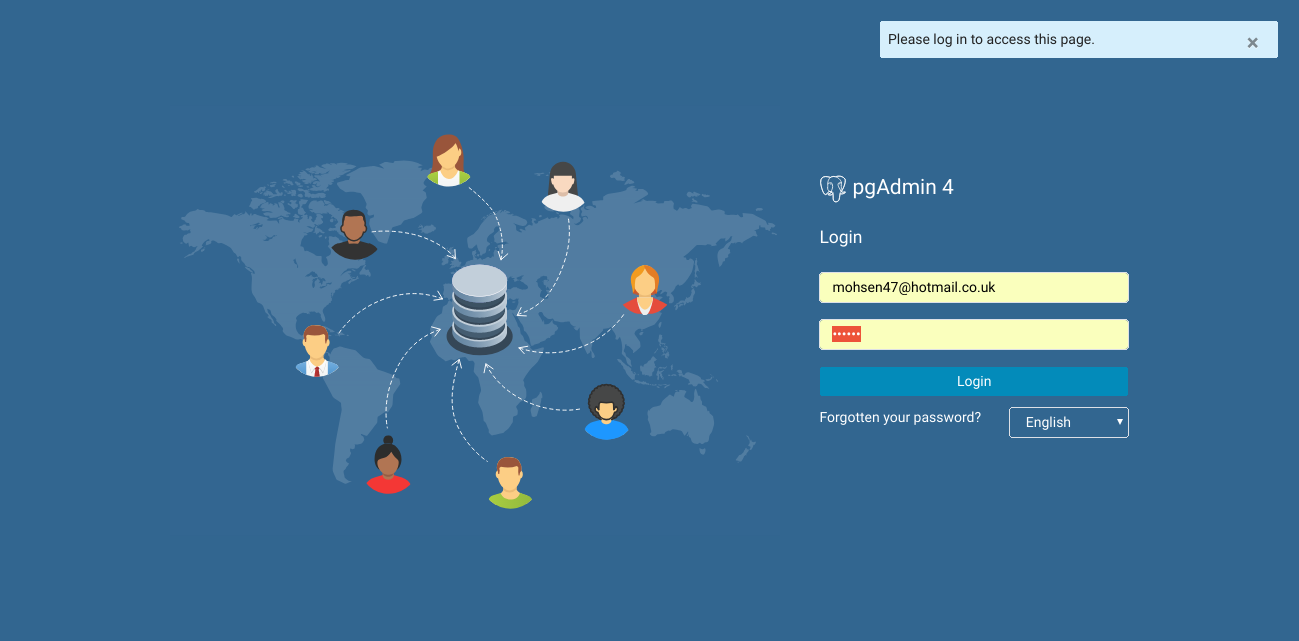
Login with your own email and password that were used in the docker command.
Connect to the cluster
Now after pgAdmin is up and running we need to add a new server to it, from Quick Links
select Add New Server, we need to fill the server details.
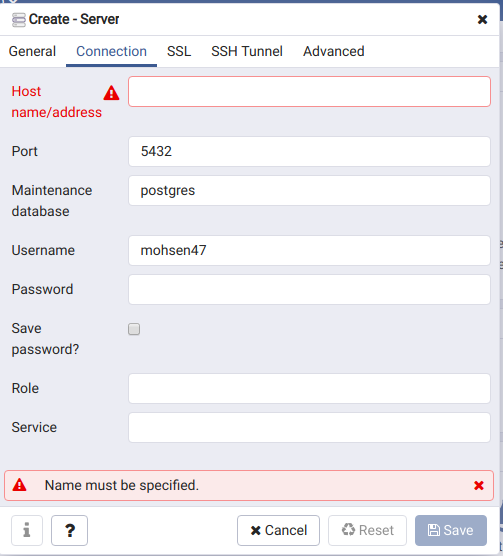
In the general tab file the Name with a friendly name to the server you can choose what ever you want
In the connection tab we need to put the Host address in your cluster page on Digital Ocean, Copy and paste the host value, fill the port value, for maintenance database use defaultdb, username is doadmin and copy and paste the password.
In the SSL tab select require for the SSL mode.
Warning: When you copy the password DO NOT double click the password to copy it because there is a small issue with the display and an extra space is copied first before the password, I had to try too much to copy the password using double click until I found out this issue by accident, reported it to DO and hope they will fix it soon.
Once finished Select Save, and you are all set to start using pgAdmin to access
your database cluster.

Final thoughts
Now after we created our first database cluster using DO managed database service we can start using it and connect our applications to it, here I will share final thoughts about the new service
- I like the nice and simple interface to create the cluster it is very intuitive and easy just like all DO interfaces.
- The use of master, standby and read only nodes is great and balanced to achieve high availability and also scale out read operations in multiple data centers, most applications need to read from the database not write to it.
- The cluster page provides metrics, logs and queries about our database cluster they are easy to read and follow however I think these services must be brought under the umbrella of one service dedicated for monitoring in the future, it would be great if we can for example send the cluster logs to a logstash endpoint using file beat compatible format so we can integrate ELK stack with the cluster.
- I did not test the backup service yet, I will do this in a future post.
Thanks a lot for Digital Ocean for this new service and will be waiting for more.
I hope you find the content useful for any comments or questions you can contact me on my email address mohsen47@hotmail.co.uk
Stay tuned for more articles. :) :)