React Tutorial - Beginner Guide
What is React
react is a JavaScript library for building user interfaces, it uses reusable components to make it a lot easier to build the interface and reuse the same components multiple times.
React binds a state with components so when the state changes it updates all the corresponfing components making it a lot easier to display data in the components, you can use React with whatever backend stack you are using.
React-Native can also be used to build mobile applications.
In this tutorial I will describe the basics of using React by creating a small calculator app used to demonstrate the basics.
Create the app
Use the following commands to create a basic react app in a folder called calculator
  sudo npm -g install create-react-app
  create-react-app calculator
  cd calculator
This creates the basic skeleton for a react single page application.
Remove everything from the src directory
rm -r src/*
Use your favorite text editor to create a file called index.js in src directory
with the following content
import React from 'react';
import ReactDOM from 'react-dom';

function Box(props) {
  return (
    <div>
      Hello {props.name}!
    </div>
  )
}

ReactDOM.render(<Box name="mohsen" />, document.getElementById('root'));
Run the development server with npm start, it will open the browser and display your page
as in the following screen shot
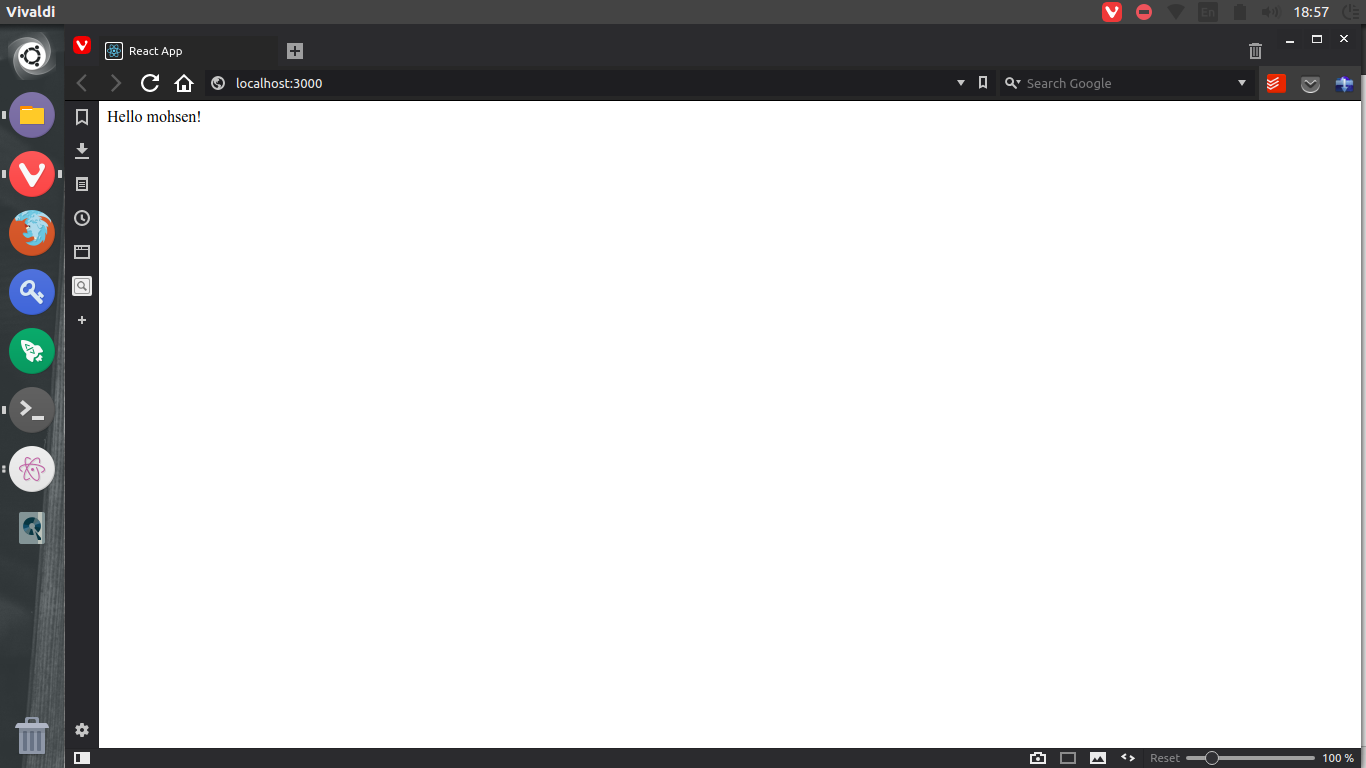
You are probably wondering what just happened? Let’s review what we just wrote.
First we have two imports for react and react-dom libraries, then we have a definition
of what we call Functional Component, we are passing a props argument to it and returning
HTML code used to describe the component, this code is called JavaScript Extended JSX.
Finally we use ReactDOM to render the Box component in a div with an ID of root, this is
automatically created by the development server when running it using npm start.
Components
Any React tutorial should start by introducing the concept of components.
A Component is a reusable piece of code used to render part of the UI which generally needs to be used in multiple places so we define it as a component to ease the process of reusing it many times.
Each component can have a props property used to pass data to it and optionally a state.
Component types
- Functional Components: These components are created using JavaScript functions like the one we created above, these components do not have a state and rendering them only relies on their props.
- Class-Based Components: These component are created using JavaScript classes and they have a state which can be changed at runtime which causes to re-render the components which depend on the changed state.
The previous component can be re-written like this as a class-based component
import React from 'react';
import ReactDOM from 'react-dom';

class Box extends React.Component {
  render() {
    return (
      <div>
        Hello {this.props.name}!
      </div>
    )
  }
}

ReactDOM.render(<Box name="mohsen" />, document.getElementById('root'));
The Box class extends the React.Component class to create a class-based react component
and the render method is used to define the UI of the component.
When to use component types
We learned about two types of components but when do we use each type?
Functional components are best used for only displaying data which is taken from the state of a parent component, these components always render the same for the same props passed to them
Class-Based components are best used as containers to other components which take state information from them, here we define the state in a single component so it is better managed in this component.
Reusing Components
Components are reused using their name enclosed in <> tags just like normal HTML tags.
To describe this technique we will create two components one of them is class-based and the other is functional based where the first one display many versions of the second one with different data.
First we will write the functional component
function ButtonAlert(props) {
  return (
    <button onClick={() => alert(props.word || 'word')}>{props.name || "button"} </button>
  )
}
Here we are using JavaScript arrow functions to write JavaScript code that is called when the button is clicked.
Now we will describe the class-based component
class Buttons extends React.Component {
  render() {
    return (
      <div>
        <ButtonAlert word="Hi world" />
        <ButtonAlert name="btn1" />
        <ButtonAlert word="bye bye" name="btn2" />
      </div>
    )
  }
}
The above code defines two components one of each type.
State
Now it is the time to explain the use of a state in ReactJS using a simple example like the one described above.
function Button(props) {
  return (
    <button onClick={props.onClick}>{props.name || "button"}</button>
  )
}
class Buttons extends React.Component {

  constructor() {
    super();

    this.state = {
      alert: "React State",
      name: "react",
    }
  }

  ChangeAlert() {
    var currentState = this.state;
    var nextState = {
      alert: document.getElementById('in1').value,
      name: currentState.name,
    }
    console.log(nextState);
    this.setState(nextState)
  }

  ChangeName() {
    var currentState = this.state;
    var nextState = {
      alert: currentState.alert,
      name: document.getElementById('in1').value,
    }
    console.log(nextState);
    this.setState(nextState)
  }

  render() {
    return (
      <div>
        <input type="text" id="in1" />
        <Button onClick={() => this.ChangeAlert()} name="Change Alert" />
        <Button onClick={() => this.ChangeName()} name="Change Name" />
        <Button onClick={() => alert(this.state.alert)} name={this.state.name} />
      </div>
    )
  }
}
Go to the web browser and check the new functionality, now you can easily change the displayed alert message and the displayed name of the button easily using react state.
I will explain the previous code, for the Button component it uses two props one for
defining its value and the other is a function handle to call when the button is clicked.
The second Buttons component displays an input field with id of ‘in1’ and a list of three
Button components each with its own onClick and name properties.
This component contains a constructor method which initializes the state object with values.
It has two other methods one to change the value of alert option in the state and the other
to change the value of name option, these two values are used in the third Button component.
This example describes how the changes to the state automatically triggers a re-render of UI components which rely on the changed state, which makes it easy to write data driven components.
Calculator App
Using the previous knowledge we will create a simple calculator application using React Components. You can find the complete source code here.
First we need to define the components that will be used
1- The ResultBox component which is a div that simply displays a text using props.text
2- The Box component which is a button that has a onClick handler props.onClick and a text
props.text
3- The Calculator component which acts as a container to other components and stores the app’s state,
it contains a function to change the state called handleClick.
Now I will describe the state object:
this.state = {
      op1: "0",
      op2: "0",
      selectop: 1,
      op: '+',
      text: "",
      lastop: '',
    }
This is the initial state, it has six options the first two defines the operands for the operation
the third one defines which operand we are entering now, the fourth one defines the operation type,
the fifth one defines the text to be displayed in the ResultBox, lastop defines the operator which was
used last if this operator was = this means we need to clear the screen to start a new operation.
Defining the used components and the meaning of the state object is essential before starting any new react application, the rest of the app uses JavaScript code to do the calculation and updates the state as required.
To test the app run npm start and go to web browser to check the results, the following
screen shot shows an example:

Yes I know this UI is not beautiful at all, to make it nicer stay tuned for the next tutorial where
I will describe the user of bootstrap in react applications and make this application more beautiful.